Hyundai Sonata LF: Cylinder Block / Cylinder Block Repair procedures
| Removal |
| 1. |
MT : Remove the flywheel.
(Refet to Cylinder Block - "Flywheel") |
| 2. |
AT : Remove the drive plate.
(Refet to Cylinder Block - "Drive Plate") |
| 3. |
Remove the engine to engine stand for disassembly. |
| 4. |
Remove the timing chain.
(Refet to Timing System - "Timing Chain") |
| 5. |
Remove the cylinder head.
(Refet to Cylindet Head Assembly - "Cylinder Head") |
| 6. |
Remove the water jacket.
(Refer to Cylinder Block - "Water Jacket") |
| 7. |
Remove the oil level gauge tube. |
| 8. |
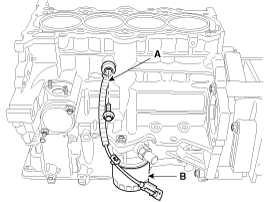
Remove the knock sensor (A) and the oil filter (B).
|
| 9. |
Remove the oil pressure switch.
(Refet to Lubrication System - "Oil Pressure Switch") |
| 10. |
Remove the oil pan.
(Refer to Lubrication System - "Oil Pan") |
| 11. |
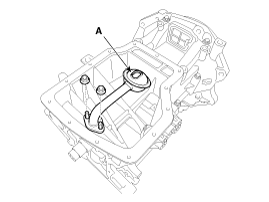
Remove the oil screen (A).
|
| 12. |
Remove the rear oil seal.
(Refet to Cylinder Block - "Rear Oil Seal") |
| 13. |
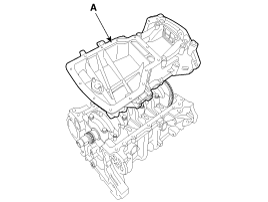
Remove the ladder frame (A).
|
| 14. |
Check the connecting rod end play. |
| 15. |
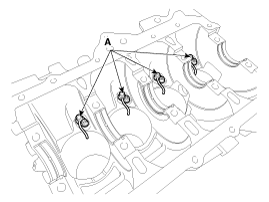
Remove the connecting rod caps and check oil clearance. |
| 16. |
Remove the piston and connecting rod assemblies.
|
| 17. |
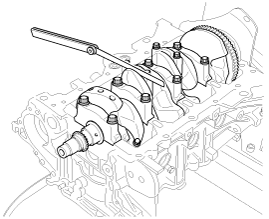
Remove the crankshaft bearing cap and check oil clearance. |
| 18. |
Check the crankshaft end play. |
| 19. |
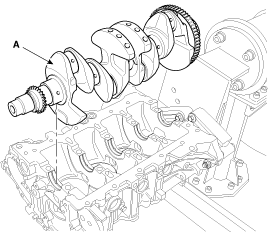
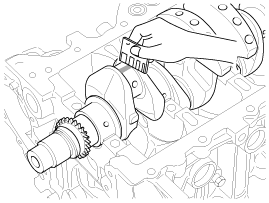
Lift the crankshaft (A) out of the engine, being careful not to damage journals.
|
| 20. |
Remove the piston cooling jet (A).
|
| 21. |
Check fit between piston and piston pin.
Try to move the piston back and forth on the piston pin.
If any movement is felt, replace the piston and pin as a set. |
| 22. |
Remove the piston rings.
|
| 23. |
Remove the connecting rod from the piston.
Using a press, remove the piston pin from piston.
(Press-in load : 500~1,500kg(1,102~3,306lb)) |
| Inspection |
| Connecting Rod And Crankshaft |
| 1. |
Check the connecting rod end play.
Using feeler gauge, measure the end play while moving the connecting rod back and forth.
|
| 2. |
Check the connecting rod bearing oil clearance.
| |||||||||||||||||||||||||||||||||||||||||||||
| 3. |
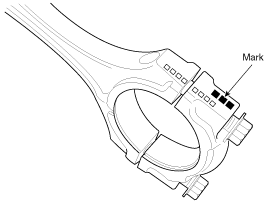
Check the connecting rods.
|
| 4. |
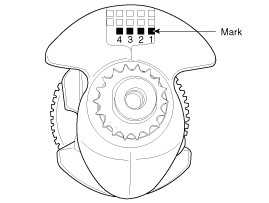
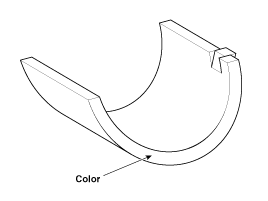
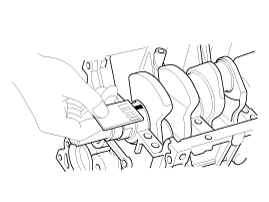
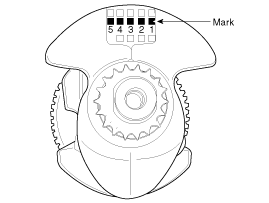
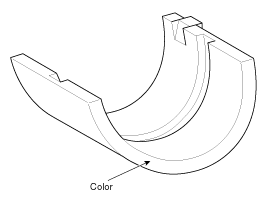
Check the crankshaft bearing oil clearance.
| |||||||||||||||||||||||||||||||||||||||
| 5. |
Check the crankshaft end play.
Using a dial indicator, measure the thrust clearance while prying the crankshaft back and forth with a screwdriver.
If the end play is greater than maximum, replace the center bearing. |
| 1. |
Remove the gasket material.
Using a gasket scraper, remove all the gasket material from the top surface of the cylinder block. |
| 2. |
Clean the cylinder block
Using a soft brush and solvent, thoroughly clean the cylinder block. |
| 3. |
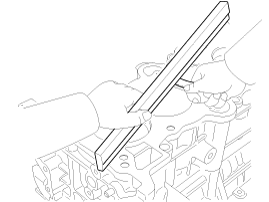
Inspect the top surface of cylinder block for flatness.
Using a precision straight edge and feeler gauge, measure the surface contacting the cylinder head gasket for warpage.
|
| 4. |
Inspect the cylinder bore.
Visually check the cylinder for vertical scratchs.
If deep scratchs are present, replace the cylinder block. |
| 5. |
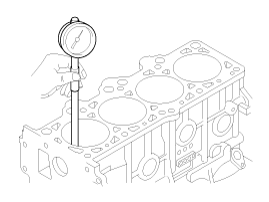
Inspect the cylinder bore diameter.
Using a cylinder bore gauge, measure the cylinder bore diameter at position in the thrust and axial direction.
|
| 6. |
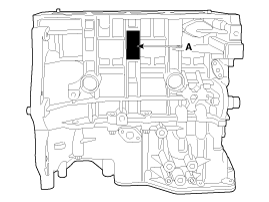
Check the cylinder bore size code on the cylinder block side surface.
Discrimination Of Cylinder Bore Size
|
| 7. |
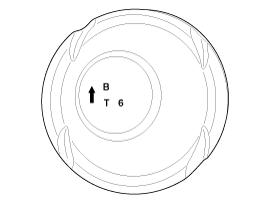
Check the piston size mark (A) on the piston top face.
A : Grade
T : Gasoline engine (T-GDI)
6 : 1.6L
Discrimination Of Piston Outer Diameter
|
| 8. |
Select the piston related to cylinder bore class.
|
| 1. |
Clean the piston.
|
| 2. |
The standard measurement of the piston outside diameter is taken 12mm(0.4724in) from bottom land of the piston.
|

