Hyundai Sonata LF: Power Door Locks / Power Door Lock Switch Repair procedures
Hyundai Sonata LF 2014-2019 Service Manual / Body Electrical System / Power Door Locks / Power Door Lock Switch Repair procedures
| Inspection |
Diagnosis with GDS
| 1. |
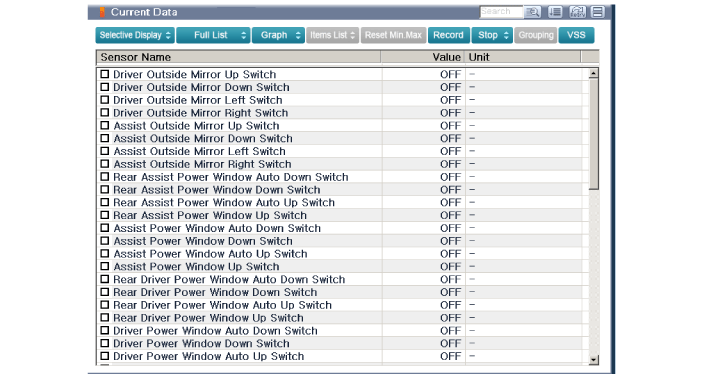
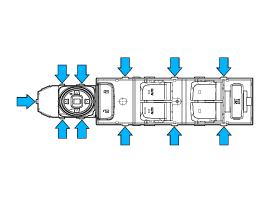
The body electrocal system can be quickly diagnosed failed parts with vehicle diagnostic system (GDS).
The diagnostic system (GDS) provides the following information.
|
| 2. |
Select the "Car Model" and the system to be checked in order to check the vehicle with the tester. |
| 3. |
Select the "Body Control Module (BCM)" to check the driver seat or assistant door module (DDM/ADM). |
| 4. |
Select the "Current Data" menu to search the current state of the input/output data.
The input/output data for the sensors corresponding to the driver seat or assistant door module(DDM/ADM) can be checked.
|
| 5. |
If you will check the power door lock operation forcefully, select "Actuation test". |
| Removal |
|

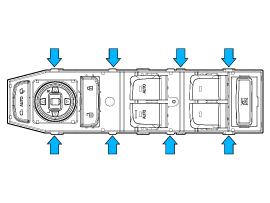
Driver Power Window Switch
| 1. |
Disconnect the negative (-) battery terminal. |
| 2. |
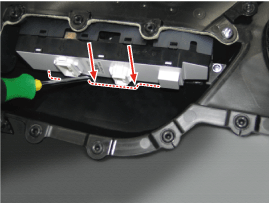
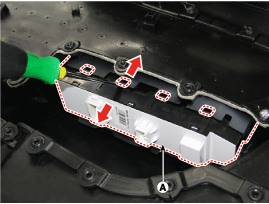
Remove the front door trim.
(Refer to Body - "Front Door Trim") |
| 3. |
Remove the power window switch assembly after disengaging the mounting clips.
|

| Installation |
| 1. |
Install the power window switch assembly. |
| 2. |
Install the front door trim after connect the connector. |
| 3. |
Connect the negative (-) battery terminal. |
 Power Door Lock Module Repair procedures
Inspection • Wrap the protective tape on the tool to disassemble with the screwdriver or remover. • Use caution in keeping and handling during disassembling/assembling because it is easily contaminated with lubricant and oil...

Other information:
Hyundai Sonata LF 2014-2019 Service Manual: Components and Components Location
C..
Hyundai Sonata LF 2014-2019 Service Manual: Accelerator Pedal Repair procedures
Removal 1. Turn the ignition switch OFF and disconnect the negative (-) battery cable. 2. Disconnect the accelerator position sensor connector (A). 3. Remove the mounting cap (A). 4. Remove the installation bolt (A), and then remove the accelerator pedal module...
Categories
- Manuals Home
- Hyundai Sonata Owners Manual
- Hyundai Sonata Service Manual
- Air Conditioning System
- Engine Control / Fuel System
- Timing System
- New on site
- Most important about car

Copyright © 2025 www.hsonatalf.org