Hyundai Sonata LF: Brake System / Stop Signal Electronic Module Repair procedures
Hyundai Sonata LF 2014-2019 Service Manual / Brake System / Brake System / Stop Signal Electronic Module Repair procedures
| Inspection |
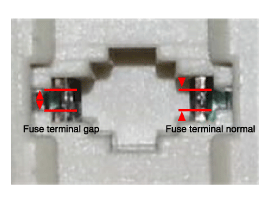
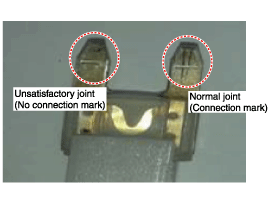
1. Fuse inspection
Mount the test fuse to the switch fuse and relay fuse part to confirm a normal joint fit.
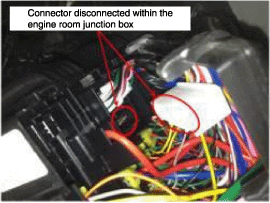
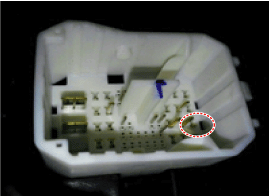
2. Inspection of connector by each part
Check to see whether or not each connector has been damaged, or terminal surge, or incomplete connection has taken place
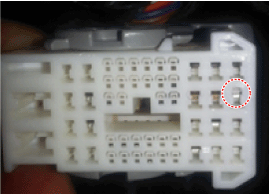
[Engine room junction box]
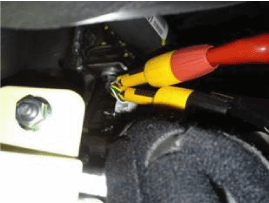
[Stop signal electronic module]
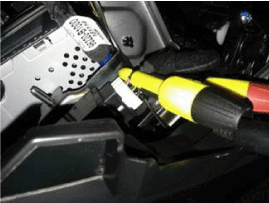
[ABS/VDC control module]
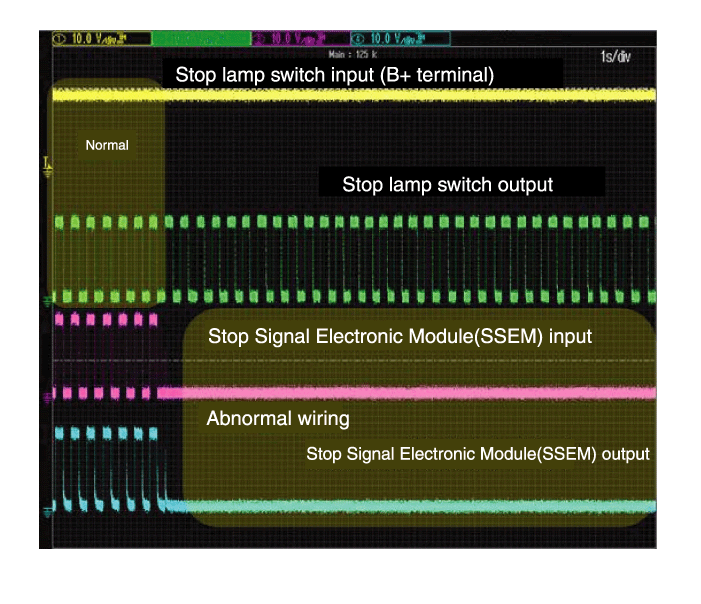
3. Inspect the stop lamp circuit
Connect probe to each terminal wire and confirm oscilloscope waveform.
[Stop lamp switch input/output]
[Stop signal electronic module input/output]
[Oscilloscope waveform screen]
| Removal |
| 1. |
Turn ignition switch OFF and disconnect the negative (-) battery cable. |
| 2. |
Remove the AVN unit.
(Refer to Body Electrical System - "AVN sytem" )
(Refer to Body Electrical System - "Premium AVN System") |
| 3. |
Remove the glove box.
(Refer to Body - "Glove Box" ) |
| 4. |
Disconnect the stop signal electronic module connector (A). |
| 5. |
Remove the clip (B) and then remove the stop signal electronic module.
|

| 6. |
Installation is the reverse of removal. |


Other information:
Hyundai Sonata LF 2014-2019 Service Manual: Rear Oil Seal Repair procedures
Removal 1. Remove the transaxle assembly. (Refer to transaxle - "Manual Transaxle assembly, Auto Transaxle assembly") 2. MT : Remove the flywheel. (Refet to Cylinder Block - "Flywheel") 3. AT : Remove the drive plate. (Refet to Cylinder Block - "Drive Plate") 4...
Hyundai Sonata LF 2014-2019 Service Manual: Battery Specifications
S..
Categories
- Manuals Home
- Hyundai Sonata Owners Manual
- Hyundai Sonata Service Manual
- Body (Interior and Exterior)
- Engine Electrical System
- Engine Control / Fuel System
- New on site
- Most important about car

Copyright © 2026 www.hsonatalf.org