Hyundai Sonata LF: Rear Suspension System / Rear Assist Arm Repair procedures
Hyundai Sonata LF 2014-2019 Service Manual / Suspension System / Rear Suspension System / Rear Assist Arm Repair procedures
| Replacement |
| 1. |
Raise the vehicle, and make sure it is securely supported. |
| 2. |
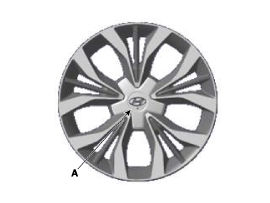
Remove the wheel cap (A).
|

| 3. |
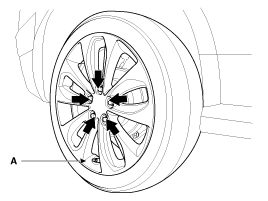
Remove the front wheel and tire (A) from front hub.
|
| 4. |
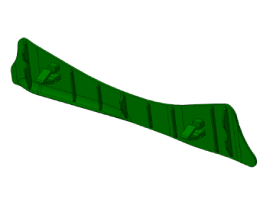
Remove the assist arm protector.
|
| 5. |
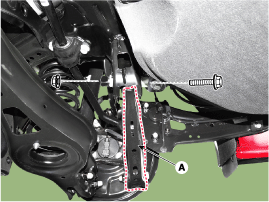
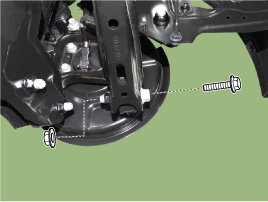
Loosen the bolt & nut and then remove the rear assist arm (A) with the sub frame.
|
| 6. |
Loosen the bolt and then remove the assist arm.
|
| Installation |
| 1. |
Installation is the reverse of removal.
|
| 2. |
Check the alignment.
(Refer to Tires/Wheels - "Alignment")
|
| Inspection |
| 1. |
Check the bushing for wear and deterioration. |
| 2. |
Check the rear lower arm for deformation.. |
| 3. |
Check the coil spring and spring pad for deterioration and deformation. |
| 4. |
Check for all bolts and nut. |
 Rear Lower Arm Repair procedures
Removal 1. Raise the vehicle, and make sure it is securely supported. 2. Remove the wheel cap (A). Be careful not to damage to the wheel cap (A) when removing the it...
 Trailing Arm Repair procedures
Replacement 1. Raise the vehicle, and make sure it is securely supported. 2. Remove the wheel cap (A). Be careful not to damage to the wheel cap (A) when removing the it...
Other information:
Hyundai Sonata LF 2014-2019 Service Manual: Refrigerant Line Components and Components Location
C..
Hyundai Sonata LF 2014-2019 Service Manual: Repair procedures
Refrigerant System Service Basics Refrigerant Recovery Use only service equipment that is U.L-listed and is certified to meet the requirements of SAE J2210 to remove HFC-134a (R-134a) from the air conditioning system. • Air conditioning refrigerant or lubricant vapor can irritate your eyes, nose, or throat...
Categories
- Manuals Home
- Hyundai Sonata Owners Manual
- Hyundai Sonata Service Manual
- Transmission Gear Oil Repair procedures
- Emission Control System
- General Information
- New on site
- Most important about car

Copyright © 2026 www.hsonatalf.org