Hyundai Sonata: Electric Power Steering / Steering Gear box Repair procedures
Hyundai Sonata LF 2014-2019 Service Manual / Steering System / Electric Power Steering / Steering Gear box Repair procedures
| Removal |
| 1. |
Raise the vehicle, and make sure it is securely supported. |
| 2. |
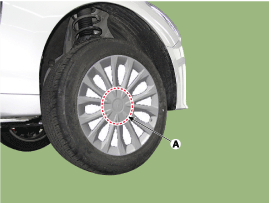
Remove the wheel cap (A).
|
| 3. |
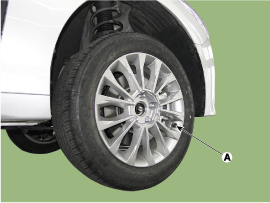
Remove the front wheel and tire (A) from front hub.
|
| 4. |
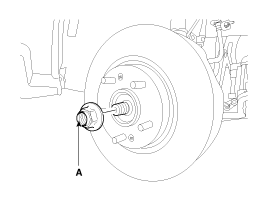
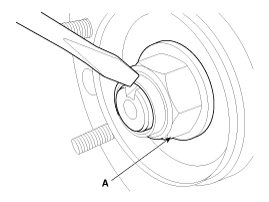
Remove driveshaft nut (A) from the front hub under applying the brake.
|
| 5. |
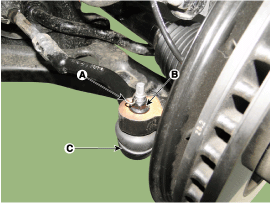
Remove the tie rod end ball joint (C) from the knuckle.
|
| 6. |
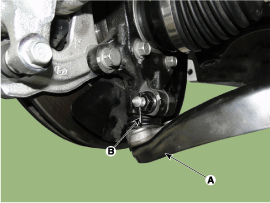
Loosen the lower arm mounting and then remove the lower arm (A).
|
| 7. |
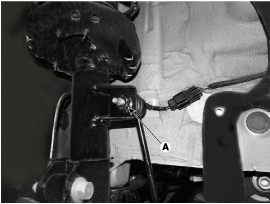
Loosen the stabilizer link (A) and remove it from the shock absorber.
|
| 8. |
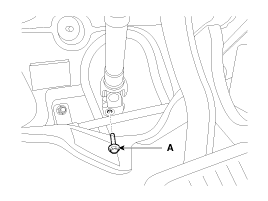
Loosen the universal joint bolt (A) and then disconnect the universal joint assembly.
|
| 9. |
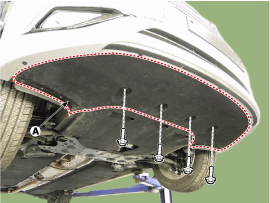
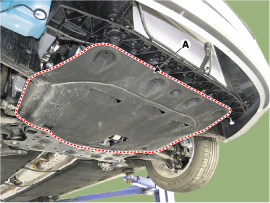
Remove the engine room under cover (A).
|
| 10. |
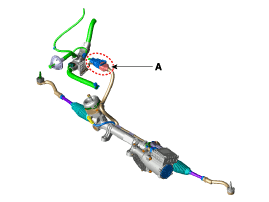
Disconnect the connector (A). [R-MDPS Type]
|
| 11. |
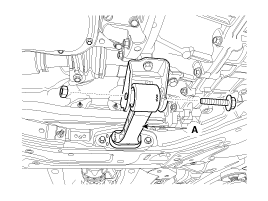
Remove the roll rod bracket (A).
|
| 12. |
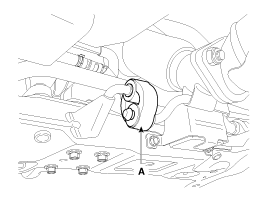
Disconnect the muffler rubber hanger (A).
|
| 13. |
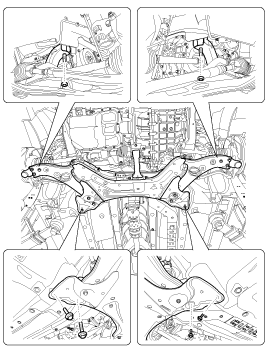
Loosen the bolts & nuts and then remove the sub frame (A).
|
| 14. |
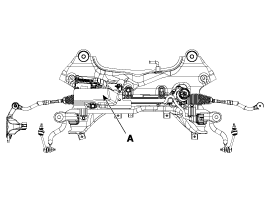
Remove the steering gear box. [R-MDPS Type]
|
| 15. |
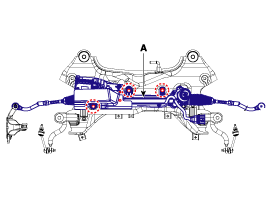
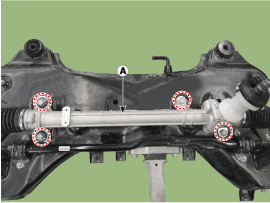
Loosen the bolts and then remove the steering gear box (A). [C-MDPS Type]
|
| 16. |
Installation is reverse of the removal. |
| Replacement |
Do not disassembly the steering gear box.
If disassembly the steering gear box, the quality(Noise / cleanliness / functions) is not guaranteed.
|
Tie rod end
| 1. |
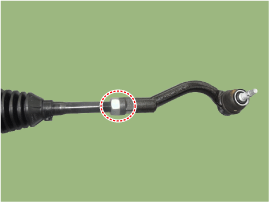
Remove the tie rod end after loosening the nut.
|
| 2. |
Replace with new parts. |
| 3. |
Check the alignment.
(Refer to Tires/Wheels - "Alignment") |
Dust cap
| 1. |
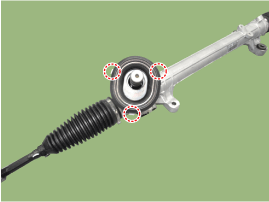
Remove the dust cap cover.
|
| 2. |
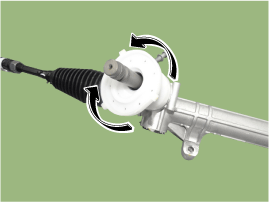
Pull the upwards and remove the dust cap.
|
| 3. |
Installation is the reverse of removal. |
 Steering Gear box Components and Components Location
Components
[C-MDPS]
1. Steering gear box2. Stabilizer bar3. Sub frame4. Bellows5. Tie rod end6. Heat protect
[R-MDPS]
1. Steering gaer box2. Stabilizer bar3. Sub frame4. Bellows5. Tie rod ...
 Restraint
...
Other information:
Hyundai Sonata LF 2014-2019 Service Manual: Temperature Control Actuator Components and Components Location
Components Location
1. Temperature control actuator [LH]2. Temperature control actuator [RH]
...
Hyundai Sonata LF 2014-2019 Service Manual: Rear Seat Belt Buckle Repair procedures
Replacement
1.
Remove the rear seat cushion assembly.
(Refer to Rear Seat - "Rear Seat Assembly")
2.
Loosen the mounting bolt, and then remove the rear seat belt buckle (A).
[LH]
Tightening torque :
39.2 ~ 53.9 N.m (4.0 ~ 5.5 kgf.m, 28.9 ~ 39.8 lb-ft)
[RH]
Tightening torque :
3 ...
© 2018-2025 www.hsonatalf.org

