Hyundai Sonata LF: Rear Axle Assembly / Rear Hub - Carrier Repair procedures
| Removal |
| 1. |
Raise the vehicle, and make sure it is securely supported. |
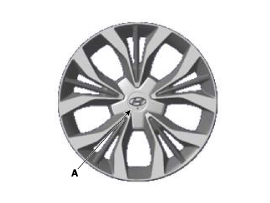
| 2. |
Remove the wheel cap (A).
|

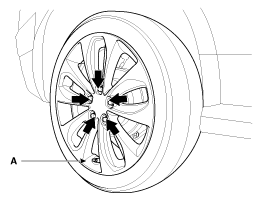
| 3. |
Remove the front wheel and tire (A) from front hub.
|
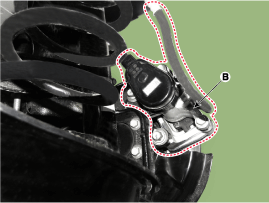
| 4. |
Remove the brake caliper mounting bolts and then place the brake caliper assembly (A) with wire.
[General]
[EPB]
|

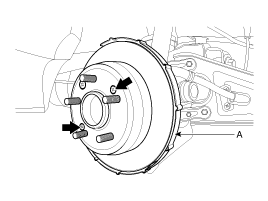
| 5. |
Loosen the mount screw and then brake disc (A).
|
| 6. |
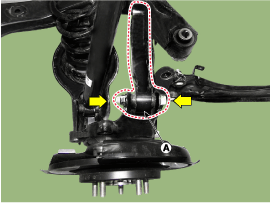
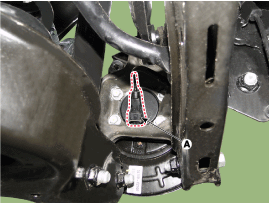
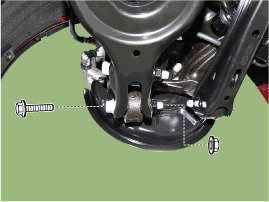
Loosen the rear upper arm mounting bolt and then remove the rear upper arm (A).
|
| 7. |
Disconnect the wheel speed sensor connector (A).
|
| 8. |
Disconnect the parking cable mounting clip (A), remove the parking cable (B). If EPB type, release the EPB.
|
| 9. |
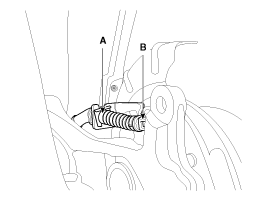
Loosen the trailing arm mounting nut (A), and then remove the trailing arm (b).
|
| 10. |
Loosen the bolt and then remove the assist arm.
|

| 11. |
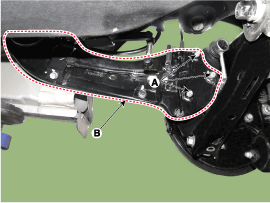
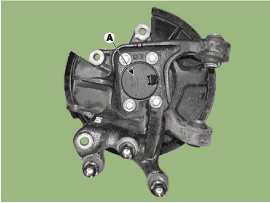
Loosen the lower arm (A) mounting bolts and remove the knuckle assembly (B).
|
| 12. |
Loosen the hub bearing mounting, and then remove the hub bearing (A) from knuckle.
|
| 13. |
Install in the reverse order of removal. |
 Rear Hub - Carrier Components and Components Location
Components [EPB Type] 1. Rear carrier assembly2. Dust cover3. Rear hub assembly4. Rear disc brake [General Type] 1. Parking brake assembly2...
 Rear Hub Assembly Repair procedures
Replacement 1. Raise the vehicle, and make sure it is securely supported. 2. Remove the wheel cap (A). Be careful not to damage to the wheel cap (A) when removing the it...
Other information:
Hyundai Sonata LF 2014-2019 Service Manual: Advanced Smart Cruise Control (ASCC) Unit-Radar Repair procedures
Removal 1. Remove the bumper. (Refer to Body - "Front Bumper") 2. Disconnect the smart cruise control unit connector. 3. Remove the smart cruise control unit assembly (A) from vehicle after loosening mounting bolts. Installation 1...
Hyundai Sonata LF 2014-2019 Service Manual: Speaker Repair procedures
Inspection 1. Troubleshooting for Speaker (1) Basic inspection of speaker Inspect the sound from speaker after verifying that the speaker mounting screws is removed and the wiring connector is connected precisely to remove vibration transmitted from body trims and surrounding parts...
Categories
- Manuals Home
- Hyundai Sonata Owners Manual
- Hyundai Sonata Service Manual
- Audio
- AVN System
- BCM (Body Control Module)
- New on site
- Most important about car
