Hyundai Sonata LF: Timing System / Drive Belt Repair procedures
| Removal |
| 1. |
Disconnect the battery negative terminal. |
| 2. |
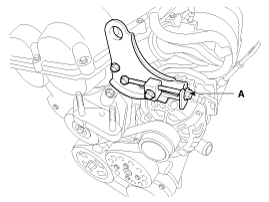
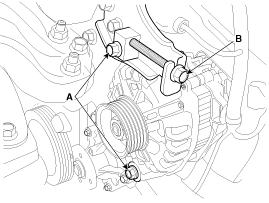
Loosen the alternator tension adjusting bolt (A) to loosen tension.
|
| 3. |
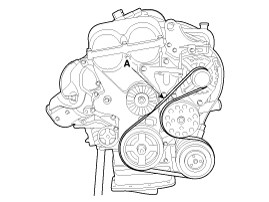
Remove the drive belt (A).
|
| Inspection |
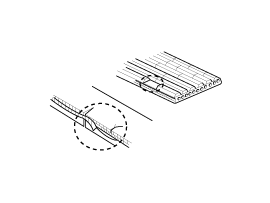
Cracks on the rib side of a belt are considered acceptable. If the belt has chunks missing from the ribs, it should be replaced. |
| Adjustment |
Tension
New Belt :
961.0 ~ 980.7 N (98.0 ~ 100.0 kgf, 216.1 ~ 220.5 lbf)
Used Belt :
637.4 ~ 735.5 N (65.0 ~ 75.0 kgf, 143.3 ~ 165.3 lbf) |
|
| 1. |
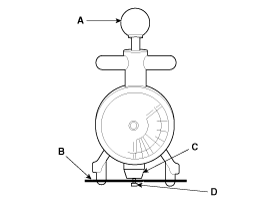
While pressing the handle (A) of the gauge, insert the belt
(B) between pulley and pulley (or idler) into the gap between spindle
(C) and hook (D).
|
| 2. |
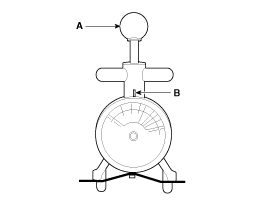
After releasing the handle (A), read a value on the dial pointed by the indicator (B).
|
| 1. |
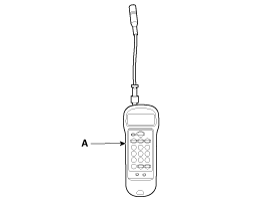
Input the belt specifications into the tension meter.
| ||||||||||||||||||||||
| 2. |
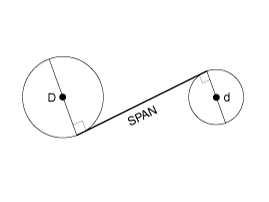
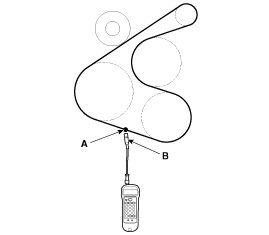
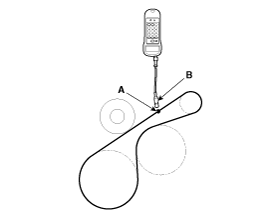
Locate the micro phone (B) close to the center of belt span
(A) and bounce the belt by finger 2~3 times. Read a value on the
display.
[With A/C]
[Without A/C]
|
| 1. |
Loosen the mounting bolts (A). |
| 2. |
Tighten the adjusting bolt (B) clockwise in loose tension ; loosen the bolt counterclockwise in high tension.
|
| 3. |
Recheck tension of the belt. |
| 4. |
After adjusting tension, tighten the through bolts.
|
| Installation |
| 1. |
Install the drive belt (A).
|
| 2. |
Adjust tension by tightening the alternator tension adjust bolt (B) and then install the mounting bilts (A).
|
| 3. |
Connect the battery negative terminal. |
Other information:
Hyundai Sonata LF 2014-2019 Service Manual: Rear Glass Defogger
Components and Components Location Component Location 1. Rear glass defogger relay Smart Junction Block (SJB)2. Rear glass defogger switch3. Rear glass defogger Rear Glass Defogger Printed Heater Repair procedures Inspection Wrap tin foil around the end of the voltmeter test lead to prevent damaging the heater line...
Hyundai Sonata LF 2014-2019 Service Manual: Mirror
Outside Rear View Mirror Components and Components Location Component Location 1. Outside rear view mirror Outside Rear View Mirror Repair procedures Replacement • Put on gloves to protect your hands. • When prying with a flat-tip screwdriver or use a prying trim tool, wrap it with protective tape, and apply protective tape around the related parts, to prevent damage...
Categories
- Manuals Home
- Hyundai Sonata Owners Manual
- Hyundai Sonata Service Manual
- Audio
- Ignition System
- Heating, Ventilation and Air Conditioning
- New on site
- Most important about car

