Hyundai Sonata LF: Timing System / Crankshaft Damper Pulley Repair procedures
Hyundai Sonata LF 2014-2019 Service Manual / Engine Mechanical System / Timing System / Crankshaft Damper Pulley Repair procedures
| Removal and Installation |
| 1. |
Remove the drive belt.
(Refer to Timing System - "Dreve Belt") |
| 2. |
Remove the engineroom under cover. |
| 3. |
Remove the passenger side front tire. |
| 4. |
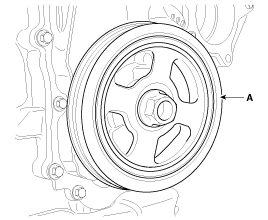
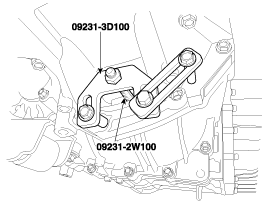
Remove the crankshaft damper pulley (A).
|
| 5. |
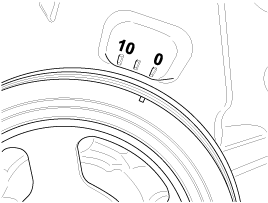
When installing the pulley, the groove on the pulley should be positioned outside.
|
Other information:
Hyundai Sonata LF 2014-2019 Service Manual: Canister Close Valve (CCV) Repair procedures
Inspection 1. Turn the ignition switch OFF. 2. Disconnect the CCV connector. 3. Measure resistance between the CCV terminal 1 and 2. 4. Check that the resistance is within the specification. Specification: Refer to "Specification" 5...
Hyundai Sonata LF 2014-2019 Service Manual: ETC (Electronic Throttle Control) System Description and Operation
Description The Electronic Throttle Control (ETC) System consists of a throttle body with an integrated control motor and throttle position sensor (TPS). Instead of the traditional throttle cable, an Accelerator Position Sensor (APS) is used to receive driver input...
Categories
- Manuals Home
- Hyundai Sonata Owners Manual
- Hyundai Sonata Service Manual
- Engine Mechanical System
- General Information
- Air Conditioning System
- New on site
- Most important about car
Copyright © 2026 www.hsonatalf.org

