
Hyundai Sonata LF: Crash Pad / Cowl Cross Bar Assembly Repair procedures
| Replacement |
|

|

| 1. |
Disconnect the negative (-) battery terminal. |
| 2. |
Recover the refrigerant with a recovery/recycling/charging station. |
| 3. |
When the engine is cool, drain the engine coolant from the radiator.
(Refer to Engine Mechanical System - “Coolant�) |
| 4. |
Remove the cowl top cover.
(Refer to "Cowl Top Cover") |
| 5. |
Disconnect the expansion valve from the evaporator core.
(Refer to Heating,Ventilation And Air Conditioning - "Heater Unit") |
| 6. |
Disconnect the inlet and outlet heater hoses from the heater unit.
(Refer to Heating,Ventilation And Air Conditioning - "Heater Unit") |
| 7. |
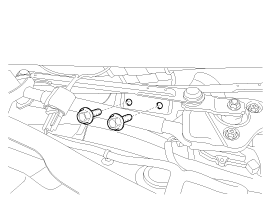
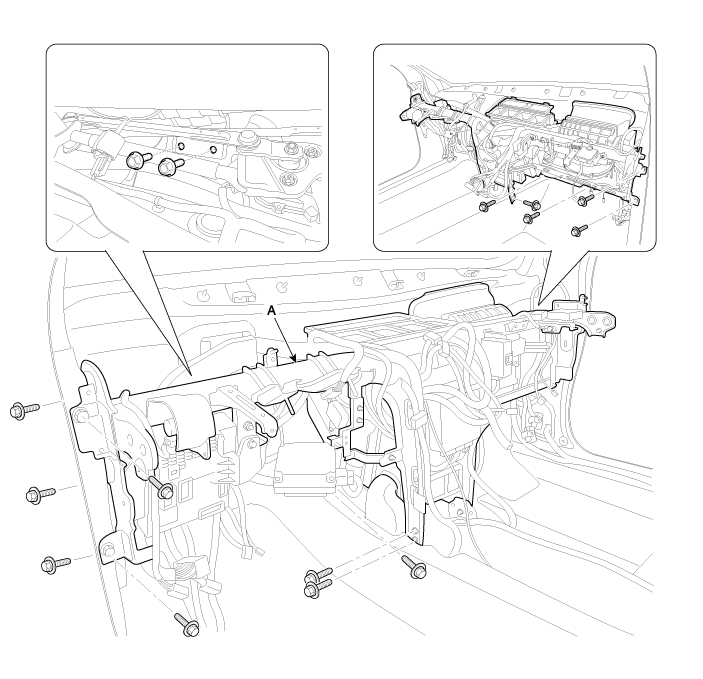
Loosen the cowl cross member mounting bolts.
|
| 8. |
Remove both sides of front seat assembly.
(Refer to Front Seat - "Front Seat Assembly") |
| 9. |
Remove the main crash pad assembly.
(Refer to Crash Pad - "Main Crash Pad Assembly") |
| 10. |
Disconnect the steering column connectors.
(Refer to Steering System - "Steering Column and Shaft") |
| 11. |
Down the steering column after loosening the mounting bolts.
(Refer to Steering System - "Steering Column and Shaft") |
| 12. |
Remove the shift lever assembly.
(Refer to Automatic Transaxle System - "Shift lever") |
| 13. |
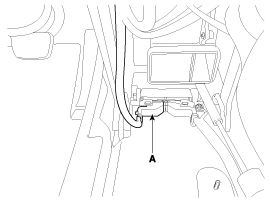
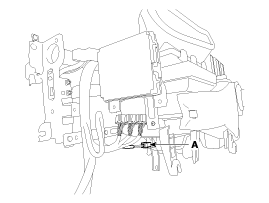
Disconnect the airbag control module (SRSCM) connector (A).
|
| 14. |
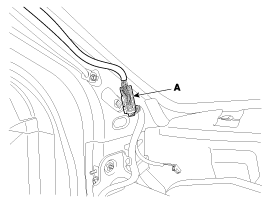
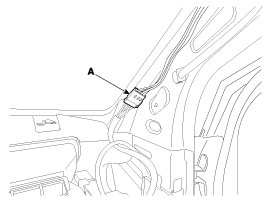
Disconnect the connector (A) and the mounting clips in the front pillar.
[Driver's]
[Passenger's]
|
| 15. |
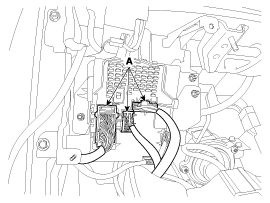
Disconnect the passenger compartment junction box connectors (A).
|
| 16. |
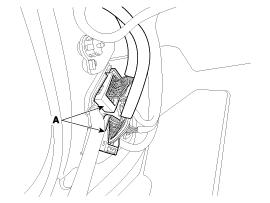
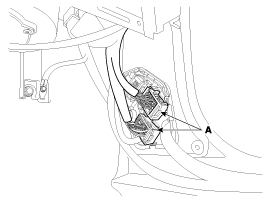
Disconnect the multi box connectors (A).
[Driver's]
[Passenger's]
|
| 17. |
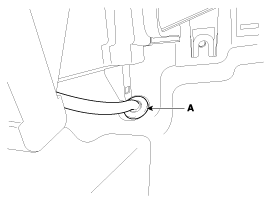
Remove the drain hose (A).
|
| 18. |
After loosening the nuts and bolts remove the cowl cross bar and heater & blower unit (A) together.
|
| 19. |
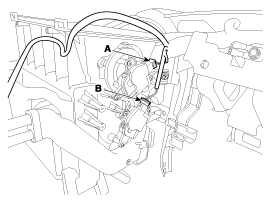
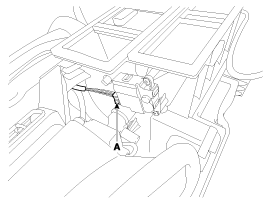
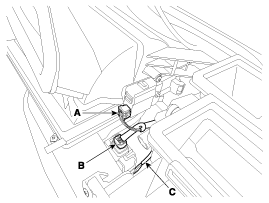
Disconnect the heater & blower unit connectors.
|
| 20. |
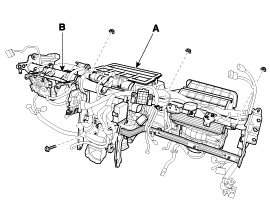
Remove the heater and blower unit (A) from the cowl cross bar (B) after loosening the mounting nuts.
|
| 21. |
Install in the reverse order of removal.
|


 Roof Trim
Components and Components Location Components [General Type] 1. Roof trim2. Sunvisor [LH]3. Sunvisor [RH]4. Assist handle bracket [Panorama Sunroof Type] 1...
Other information:
Hyundai Sonata LF 2014-2019 Service Manual: Hood
Repair procedures Adjustment 1. After loosening the hinge (A) mounting bolt, adjust the hood (B) by moving it up or down, or right or left. 2. Adjust the hood height by turning the hood overslam bumpers (C). 3. After loosening the hood latch (D) mounting bolts, adjust the latch by moving it up or down, or right or left...
Hyundai Sonata LF 2014-2019 Service Manual: Troubleshooting
Troubleshooting Error ItemFailureSymptomInspection Items Detailed Inspections Relevant Parts/ComponentsScreen displayTFT-LCD screen does not turn on 1. Connector attachments 2. Components 1. Check the connector attachments 2. Check B+, IGN and GND wiring 3...
Categories
- Manuals Home
- Hyundai Sonata Owners Manual
- Hyundai Sonata Service Manual
- Cooling System
- Engine And Transmission Assembly
- General Information
- New on site
- Most important about car
