Hyundai Sonata LF: Body (Interior and Exterior) / Body Side Molding
Hyundai Sonata LF 2014-2019 Service Manual / Body (Interior and Exterior) / Body Side Molding
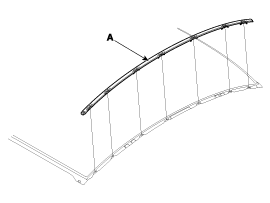
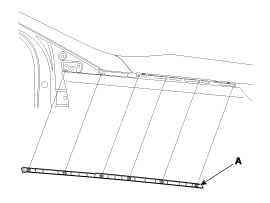
Roof Side Molding Repair procedures
| Replacement |
|

|

| 1. |
Using a screwdriver or remover, remove the roof side molding (A).
|

| 2. |
Install in the reverse order of removal.
|
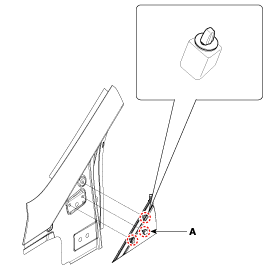
Delta Garnish Repair procedures
| Replacement |
|
|
| 1. |
Using a screwdriver or remover, remove the delta garnish (A).
|
| 2. |
Install in the reverse order of removal.
|
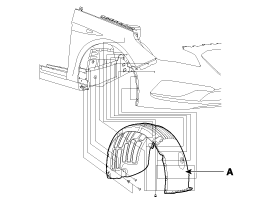
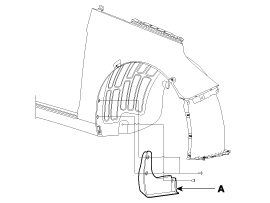
Front Wheel Guard Repair procedures
| Replacement |
|
|
| 1. |
Remove the front tire. |
| 2. |
After loosening the mounting clips, nuts, bolts and screws, and then remove the front wheel guard (A).
|
| 3. |
Install in the reverse order of removal.
|
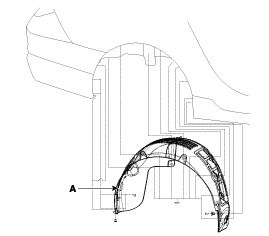
Rear Wheel Guard Repair procedures
| Replacement |
|
|
| 1. |
Remove the rear tire. |
| 2. |
After loosening the mounting clips and screws, then remove the rear wheel guard (A).
|
| 3. |
Install in the reverse order of removal.
|
Fender Garnish Repair procedures
| Replacement |
|
|
| 1. |
Using a screwdriver, remove the fender garnish (A).
|
| 2. |
Install in the reverse order of removal.
|
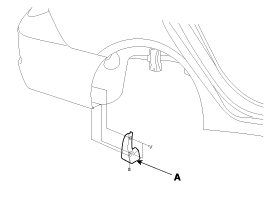
Front Mud Guard Repair procedures
| Replacement |
|
| 1. |
After loosening the mounting screw, then remove the front mud guard (A) by using a screw driver.
|
| 2. |
Install in the reverse order of removal.
|
Rear Mud Guard Repair procedures
| Replacement |
|
| 1. |
After loosening the mounting screw, then remove the rear mud guard (A) by using a screw driver.
|
| 2. |
Install in the reverse order of removal.
|
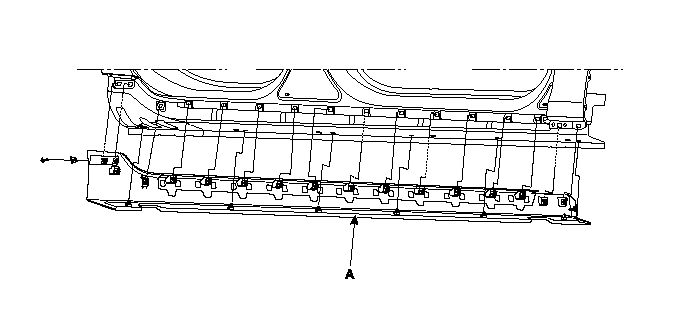
Side Sill Molding Repair procedures
| Replacement |
|
|
| 1. |
Loosen the side sill molding mounting screw and retaner. |
| 2. |
Using a screwdriver or remover, remove the side sill molding (A).
|
| 3. |
Install in the reverse order of removal.
|
 Rear Door Curtain Assembly Repair procedures
Replacement Put on gloves to protect your hands. • When prying with a flat-tip screwdriver or use a prying trim tool, wrap it with protective tape, and apply protective tape around the related parts, to prevent damage...

Categories
- Manuals Home
- Hyundai Sonata Owners Manual
- Hyundai Sonata Service Manual
- Heating, Ventilation and Air Conditioning
- Engine Mechanical System
- Brake System
- New on site
- Most important about car

Copyright © 2026 www.hsonatalf.org