Hyundai Sonata LF: Front Seat / Front Seat Cushion Cover Repair procedures
Hyundai Sonata LF 2014-2019 Service Manual / Body (Interior and Exterior) / Front Seat / Front Seat Cushion Cover Repair procedures
| Replacement |
|
|
| 1. |
Remove the front seat assembly.
(Refer to Front Seat - "Front Seat Assembly") |
| 2. |
Remove the front seat outer shield cover.
(Refer to Front Seat - "Front Seat Shield Outer Cover") |
| 3. |
Remove the front seat shield inner cover.
(Refer to Front Seat - "Front Seat Shield Inner Cover") |
| 4. |
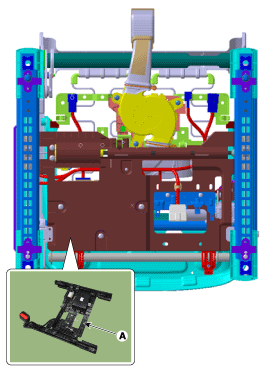
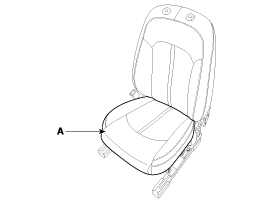
After loosening the mounting clip and screws, then remove the front seat under cover (A).
|
| 5. |
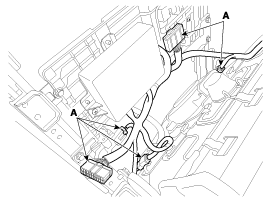
Disconnect the connectors (A).
|
| 6. |
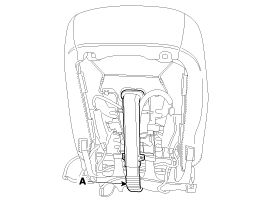
Remove the front seat air ventilation seat cushion duct (A).
|
| 7. |
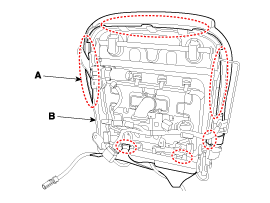
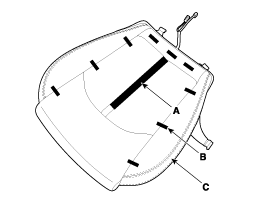
Pull out the protectors (A), and then front seat cushion cover from the front seat cushion frame (B).
|
| 8. |
Remove the front seat cushion cover (A) from the front seat cushion frame.
|
| 9. |
After removing the velcro tape (A) and clips (B) on the front of seat back and remove the front seat back cover (C).
|
| 10. |
Install in the reverse order of removal.
|
Other information:
Hyundai Sonata LF 2014-2019 Service Manual: Battery Description and Operation
Description [AGM Battery] AGM battery is used for especially heavy load on the vehicle network depending on equipment and requirements. AGM stands for Absorbent Glass Material Battery; that is absorbent glass fibre fleece. AGM batteries are fitted in models with electrical loads/consumers which have a high energy demand...
Hyundai Sonata LF 2014-2019 Service Manual: Input shaft speed sensor 2 Specifications
S..
Categories
- Manuals Home
- Hyundai Sonata Owners Manual
- Hyundai Sonata Service Manual
- Audio
- ESP(Electronic Stability Program) System
- Cooling System
- New on site
- Most important about car
Copyright © 2026 www.hsonatalf.org


