Hyundai Sonata LF: Rear Seat / Rear Seat Back Cover Repair procedures
Hyundai Sonata LF 2014-2019 Service Manual / Body (Interior and Exterior) / Rear Seat / Rear Seat Back Cover Repair procedures
| Replacement |
| [LH] |
|

|

| 1. |
Remove the rear seat back assembly [LH].
(Refer to Rear Seat - "Rear Seat Assembly") |
| 2. |
Remove the rear seat headrest (A).
|

| 3. |
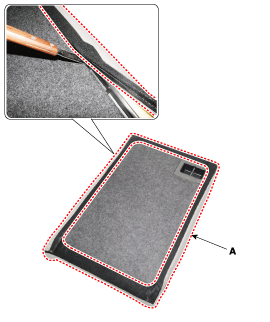
Using a screwdriver or remover, remove the rear seat back cover (A).
|
| 4. |
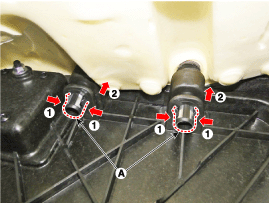
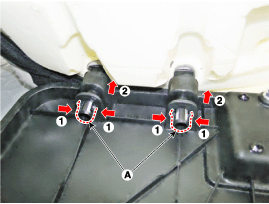
Pull out the rear seat headrest guides (A) while pinching both sides of the lower part of the guides, and remove them.
|
| 5. |
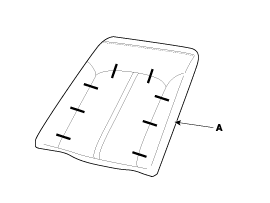
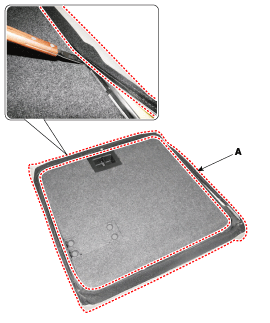
After removing both the clips and velcro tape on the rear of seat back and remove the seat back cover (A).
|
| 6. |
Install in the reverse order of removal.
|

[RH]
Put on gloves to protect your hands. |
|
| 1. |
Remove the rear seat back assembly [RH].
(Refer to Rear Seat - "Rear Seat Assembly") |
| 2. |
Remove the rear seat back armrest.
(Refer to Rear Seat - "Rear Seat ") |
| 3. |
Remove the rear seat headrest (A).
|

| 4. |
Using a screwdriver or remover, remove the rear seat back cover (A).
|
| 5. |
Turn the rear seat back cover inside out. Then pull out the
headrest guides (A) while pinching both sides of the lower part of the
guides, and remove them.
|
| 6. |
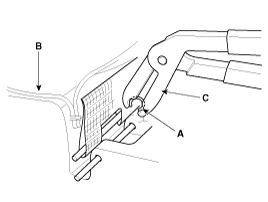
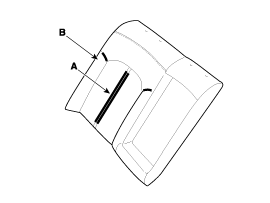
After removing both the clips and velcro tape (A) on the rear of seat back and remove the seat back cover (B).
|
| 7. |
Install in the reverse order of removal.
|


Other information:
Hyundai Sonata LF 2014-2019 Service Manual: Front Lower Arm Repair procedures
Replacement 1. Raise the vehicle, and make sure it is securely supported. 2. Remove the wheel cap (A). Be careful not to damage to the wheel cap (A) when removing the it. 3. Remove the front wheel and tire (A) from front hub...
Hyundai Sonata LF 2014-2019 Service Manual: DCT (Dual Clutch Transmission) Components and Components Location
Components (1) 1. Dual clutch transmission assembly2. Clutch actuator3. Gear actuator4. Roll rod supprot bracket5. Engine room under cover6. Roll rod bracket7. Dust cover8. Support bracket mounting bolt9. Transmission support bracket Components (2) 1...
Categories
- Manuals Home
- Hyundai Sonata Owners Manual
- Hyundai Sonata Service Manual
- Audio
- Engine Control System
- Engine And Transmission Assembly
- New on site
- Most important about car

Copyright © 2026 www.hsonatalf.org