
Hyundai Sonata LF: Body Dimensions / Front Body Body Repair
| Front Body A |
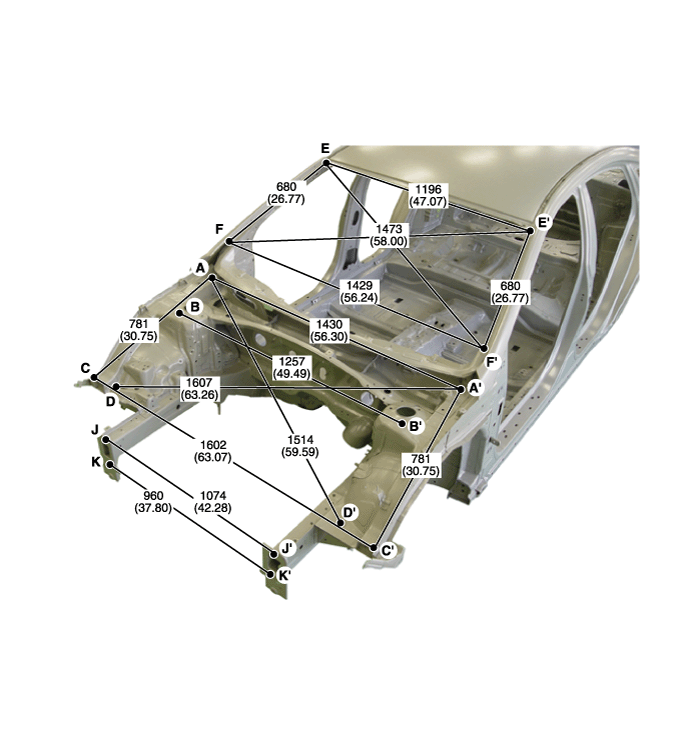
| * These dimensions indicated in this figure are actual-measurement dimensions. [ Unit : mm (inch) ] |
| Front Body B |
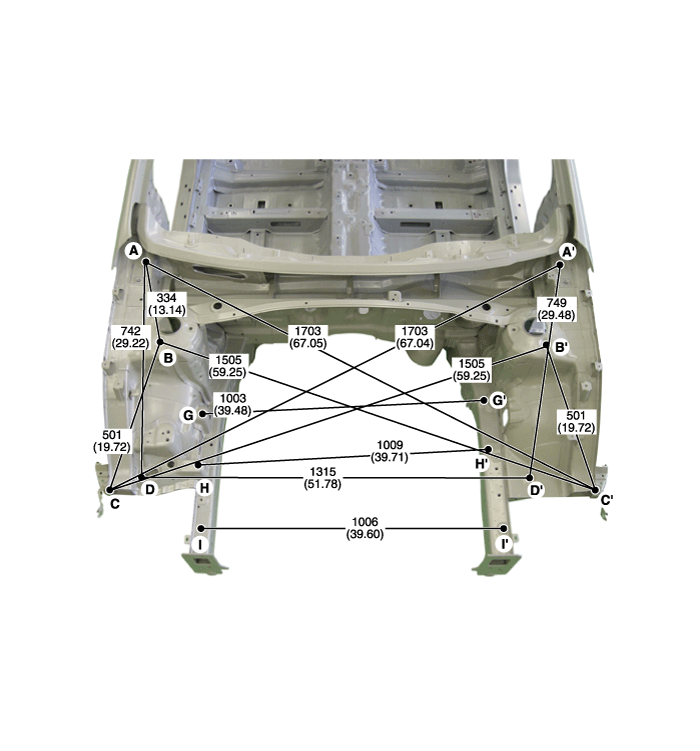
| * These dimensions indicated in this figure are actual-measurement dimensions. [ Unit : mm (inch) ] |
| Front Body C |
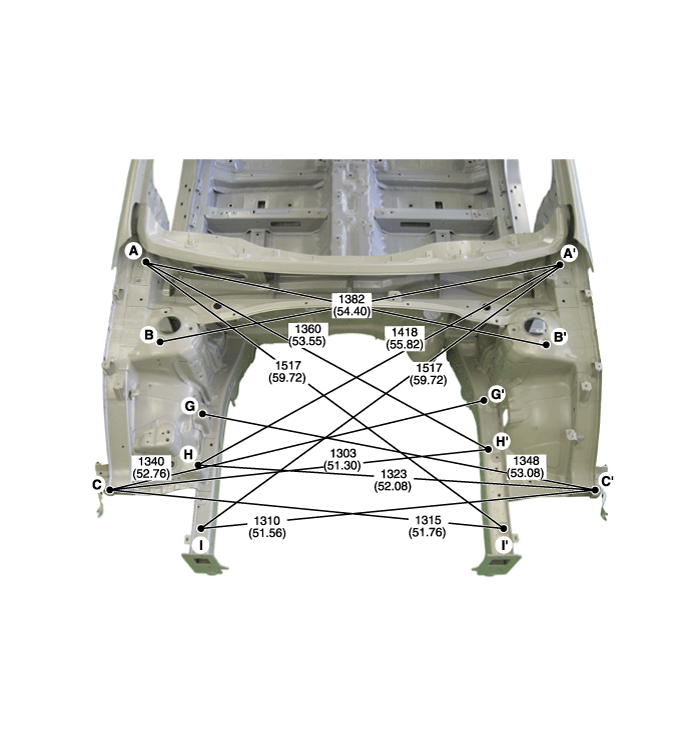
| * These dimensions indicated in this figure are actual-measurement dimensions. [ Unit : mm (inch) ] |
| Front Body D |
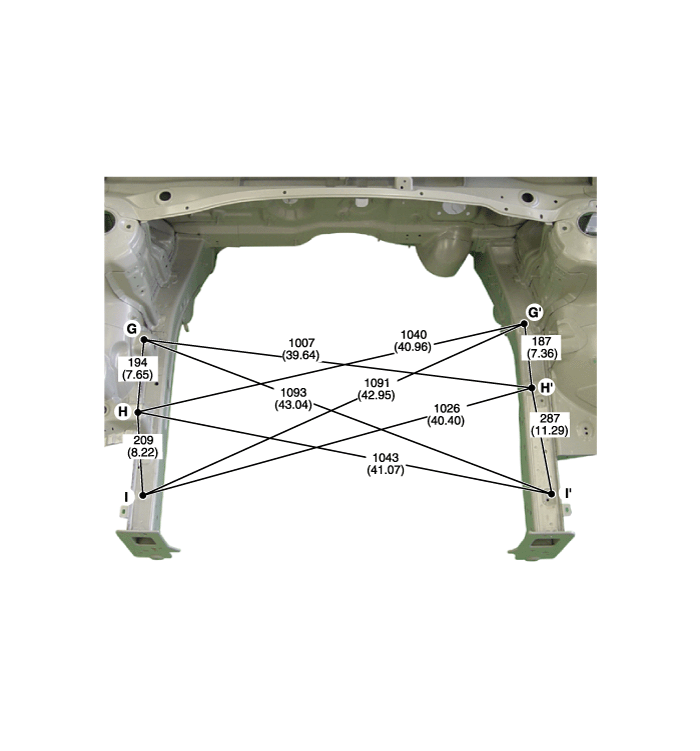
| * These dimensions indicated in this figure are actual-measurement dimensions. [ Unit : mm (inch) ] |
|
|
|
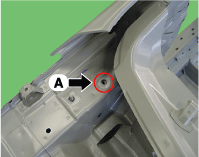
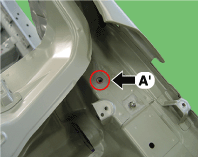
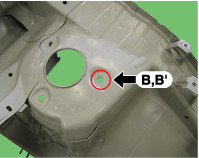
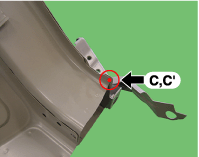
| Hood hinge mounting hole (O13) | Hood hinge mounting hole (O13) | Front shock absorber mounting hole (O13) |
|
|
|
| Fender apron upper member corner | Fender apron inner panel tooling hole (O8) | Fender apron inner panel tooling hole (O6.6) |
|
|
|
| Front pillar outer corner | Front pillar outer corner | Engine mounting bracket hole (O13) |
|
|
|
| Transaxle mounting hole (O15) | Engine mounting bracket hole (O15) | Transaxle mounting hole (O15) |
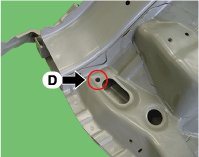
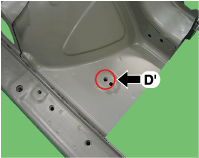
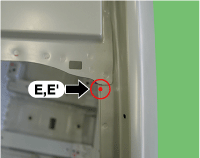
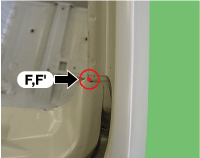
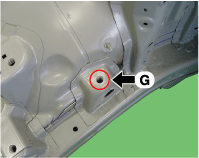
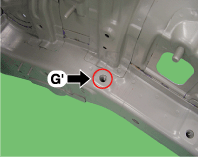
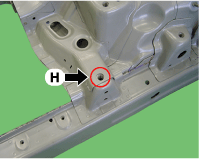
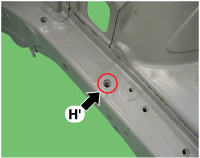
|
|
|
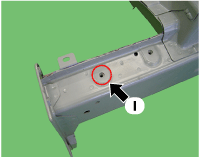
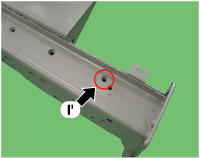
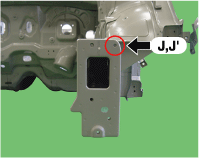
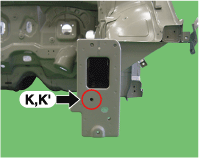
| Front side member tooling hole (O9) | Front side member tooling hole (O9) | Front end module mounting hole (O9) |
| ||
| Front end module mounting hole (O11) |
 General Information
General 1. Basically, all measurements in this manual are taken with a tracking gauge. 2. When a measuring tape is used, check to be sure there is no elongation, twisting or bending...
 Side Body Body Repair
Side Body A * These dimensions indicated in this figure are actual-measurement dimensions. [ Unit : mm (inch) ] Side Body B * These dimensions indicated in this figure are actual-measurement dimensions...
Other information:
Hyundai Sonata LF 2014-2019 Service Manual: Occupant Classification Sensor (OCS) Description and Operation
Description In order to make normal activation of airbag system, SRSCM detects DTC(s) for the Occupant Classification System (OCS). If the seat is occupied, OCS detects passenger presences status and send signal to SRSCM via CAN. SRSCM recognizes the signal as 2(two) different classifications; that is, 1(Empty or small occupant with child restraint system), 2(Occupied with large occupant and small occupant)...
Hyundai Sonata LF 2014-2019 Service Manual: Rail Pressure Sensor (RPS) Description and Operation
Description Rail Pressure Sensor (RPS) is installed on the delivery pipe and measures the instantaneous fuel pressure in the delivery pipe. The sensing element (Semiconductor element) built in the sensor converts the pressure to voltage signal...
Categories
- Manuals Home
- Hyundai Sonata Owners Manual
- Hyundai Sonata Service Manual
- DCT (Dual Clutch Transmission) System
- Transmission Gear Oil Repair procedures
- Engine Electrical System
- New on site
- Most important about car
