
Hyundai Sonata LF: AVN System / AVN Remote Controller (Sonata Sports) Repair procedures
Hyundai Sonata LF 2014-2019 Service Manual / Body Electrical System / AVN System / AVN Remote Controller (Sonata Sports) Repair procedures
| Inspection |
| 1. |
Check for resistance between terminals in each switch position (LH).
[LH : Audio + Hands free]
|
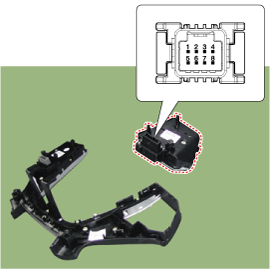
| 2. |
Check for resistance between terminals in each switch position (RH).
[RH : Audio + Hands free]
|
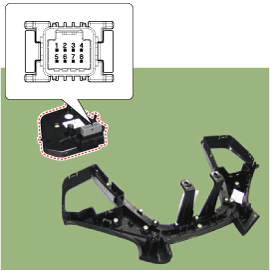
| Removal |
| 1. |
Disconnect the negative (-) battery terminal. |
| 2. |
Remove the steering wheel assembly.
(Refer to Steering System - "Steering Wheel") |
| 3. |
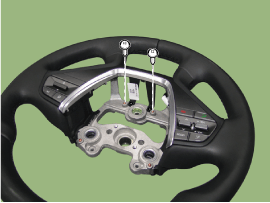
Remove the screw from the steering cover.
|
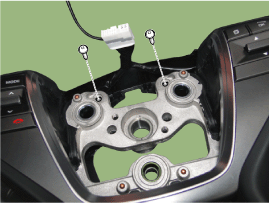
| 4. |
Remove the steering back cover (A).
|
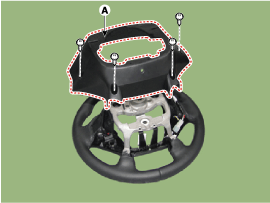
| 5. |
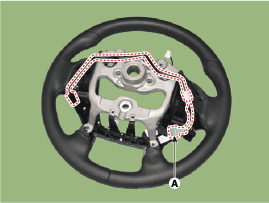
Remove the steering remote control connector (A).
|
| 6. |
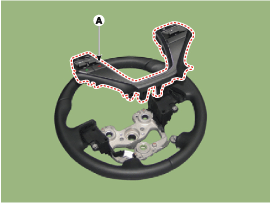
Remove the steering remote control (A) after loosening the screws.
|
| Installation |
| 1. |
Install the steering wheel remote control after connecting the connector. |
| 2. |
Connect the negative (-) battery terminal. |


Other information:
Hyundai Sonata LF 2014-2019 Service Manual: Specifications
S..
Hyundai Sonata LF 2014-2019 Service Manual: DCT (Dual Clutch Transmission) Repair procedures
Removal 1. Remove the air cleaner assembly and air duct. (Refer to Engine Mechnical System - "Air cleaner") 2. Remove the TCM. (Refe to Dual Clutch Transmission Control System - "TCM") 3. Remove the battery and tray. (Refer to Engine Electrical System - "Battery") 4...
Categories
- Manuals Home
- Hyundai Sonata Owners Manual
- Hyundai Sonata Service Manual
- Driveshaft and axle
- Transmission Gear Oil Repair procedures
- Transmission Gear Oil General Information
- New on site
- Most important about car

Copyright © 2026 www.hsonatalf.org